Shooting outside is excellent. Shooting outdoors with flash is a pain. Personally, I love making that compromise because it looks freaking amazing. In this article, I explain how to light an editorial-type runner shoot outdoors in screaming sunlight using high-speed sync.
Ready to learn how to do it?
Why Bring a Flash Outdoors?
Seriously, why bother? Outdoor light is fantastic. It’s already there; it looks gorgeous and can be crazy flattering.
Oh wait, are those clouds? I wanted the sun in the background.
Crap, it’s super sunny, and there’s no shade.
Um, this spot looks terrific, but it’s super dark, and my ISO is approaching my comfortable limit.
Or my favorite: “I don’t have to carry a ton of gear, and I’ll just spend an hour in Photoshop dodging & burning to get the contrast I want.”
Natural, outdoor light is fantastic. But it’s unpredictable, and you’re limited in what you can do. You simply show up and say, “great; I’m gonna shoot based on what the light gives me.”
Lugging flash equipment outside sucks. It’s a royal PITA (look it up). It’s heavy, it’s big, and it slows down a portrait session because you have to tweak and adjust every time you move spots. But if you’re a control freak, have clients who expect a specific look no matter what (hello commercial and brand clients), loathe spending hours in Photoshop, and want to differentiate yourself from all the other photographers out there, then you should consider adding it to your skillset and kit. Believe me, it’s worth it.
The Prompt
I like giving myself projects with different portrait concepts. I wanted to do a stylized Nike/Adidas-type editorial shoot of a runner outdoors for this shoot. I picked a local park that had a lot of distinct looks all within a small area to give us lots of variety and make it seem like we were shooting across many locations.
My model, Liz, has been doing the running thing for a few years as a mission to get healthy and in shape. So part of this shoot was intended to help her feel badass and empowered after all the work she’s put in.
Is it weird as a guy that I’m jealous of the awesome patterns and colors girls get to wear for running clothes? Yes? No? Fine, back to lighting.
The Gear
Glow EZ Lock 16×48″ Stripbox
MagMod MagGrid
Kupo C-Stand
Impact Lightstand
2x Flashpoint AD200
Flashpoint R2 Pro Trigger
Canon EOS R
Sigma 24mm f/1.4 Art
Canon RF 35mm f/1.8 IS
Canon EF 50mm f/1.2 L
Canon EF 85mm f/1.4 L IS
For this shoot, I had a particular requirement from my gear. Because it was so bright out, and I knew I wanted to use wide apertures for these shots, I had to shoot with High-Speed Sync. This is a flash capability that allows it to work beyond your camera’s base sync speed (usually around 1/200 of a second shutter speed, depending on the camera).
What is High-Speed Sync?
I apologize for the nerd speak now.
If you don’t know how your camera shutter works, check out this fantastic animation by Charlie Fong from Wikimedia.
What you should see is that at slow shutter speeds (far left), your entire sensor is open or “exposed” during a single shutter actuation. As you increase your shutter speed, a portion of your sensor is exposed at any given moment within a single shutter actuation (far right).
Now, your camera’s max sync speed is the fastest shutter speed possible while still exposing the entire sensor in a single frame. This is important because your flash (usually) emits a single pulse of light. That single pulse is only captured in its entirety if the entire camera sensor can see it when it fires.
So what happens when you have a flash fire normally, and you push your camera beyond its max sync speed? You see a black bar across the bottom of your picture.
Now, say it’s stupid bright out AKA standard, afternoon daylight, and you’re shooting without a flash. If you want to take a picture that’s appropriately exposed (and assume we use an ISO of 100), you can either close your aperture to something like f/8 and shoot at 1/200 shutter speed, OR you can raise your shutter speed to 1/3200 and open the aperture to f/2. It’s the same exposure, but one freezes the action, whereas the other has everything in focus.
Next, let’s add a flash. If you’re shooting at 1/200 and f/8, you’re okay because you’re within the camera’s max sync speed (assuming your camera has a max sync speed of 1/200), but you’ll need a lot of flash power. The smaller your aperture, the less light from your flash the camera captures.
But what if you want to shoot at f/2? Well, that’s a problem because your shutter speed is 1/3200, which is WAY faster than the max sync speed. To get around this, some flashes use High-Speed Sync. When you put the flash into this mode, it emits a series of super-fast light pulses instead of the normal, singular one. This series of super-fast pulses ensure that no matter when/where your sensor is exposed during that single frame of fast shutter speed (remember the animation above), there’s always a flash pulse captured by the sensor.
The downsides to High-Speed Sync are that the flashes are more expensive, and it eats up a lot of power. The faster your shutter speed, the less light is observed from the flash.
If you’d like to keep using your non-High-Speed Sync flashes, you can use a Neutral Density filter on your lens. Because your aperture controls the brightness of the flash per your sensor, the Neutral Density filter essentially makes the background darker, so you don’t need as fast of shutter speed. The only downside to this is you’ll need multiple ND filters for each lens diameter size you own, and you may need various levels of ND (3 stop, 6 stop, 9 stop, etc.) to work with diverse light levels.
I prefer High-Speed Sync because it’s faster to set up and more flexible than using ND filters. I’m already telling my subject to hang on a second while I dial in my exposure. I don’t want to make them wait longer while I fiddle with finding the right ND filter for each lens I want to use.
Wow, that was a mouthful. Hopefully, your brain hasn’t turned to mush, and that made some sense. Ready to get into the shoot itself?
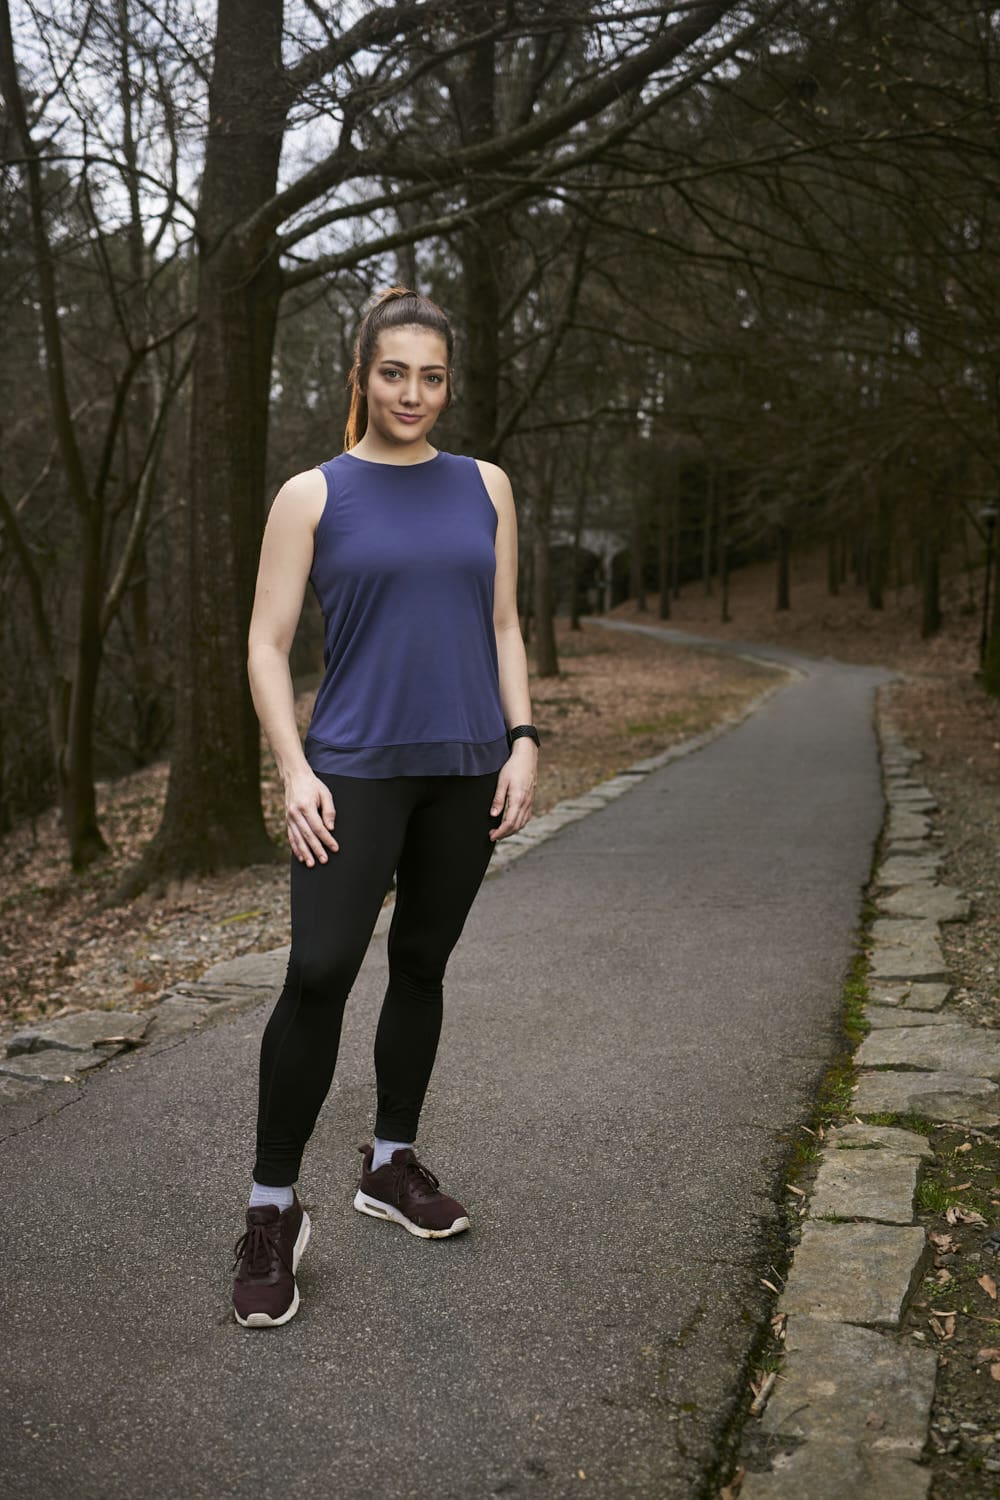
Shots & Set-Up #1
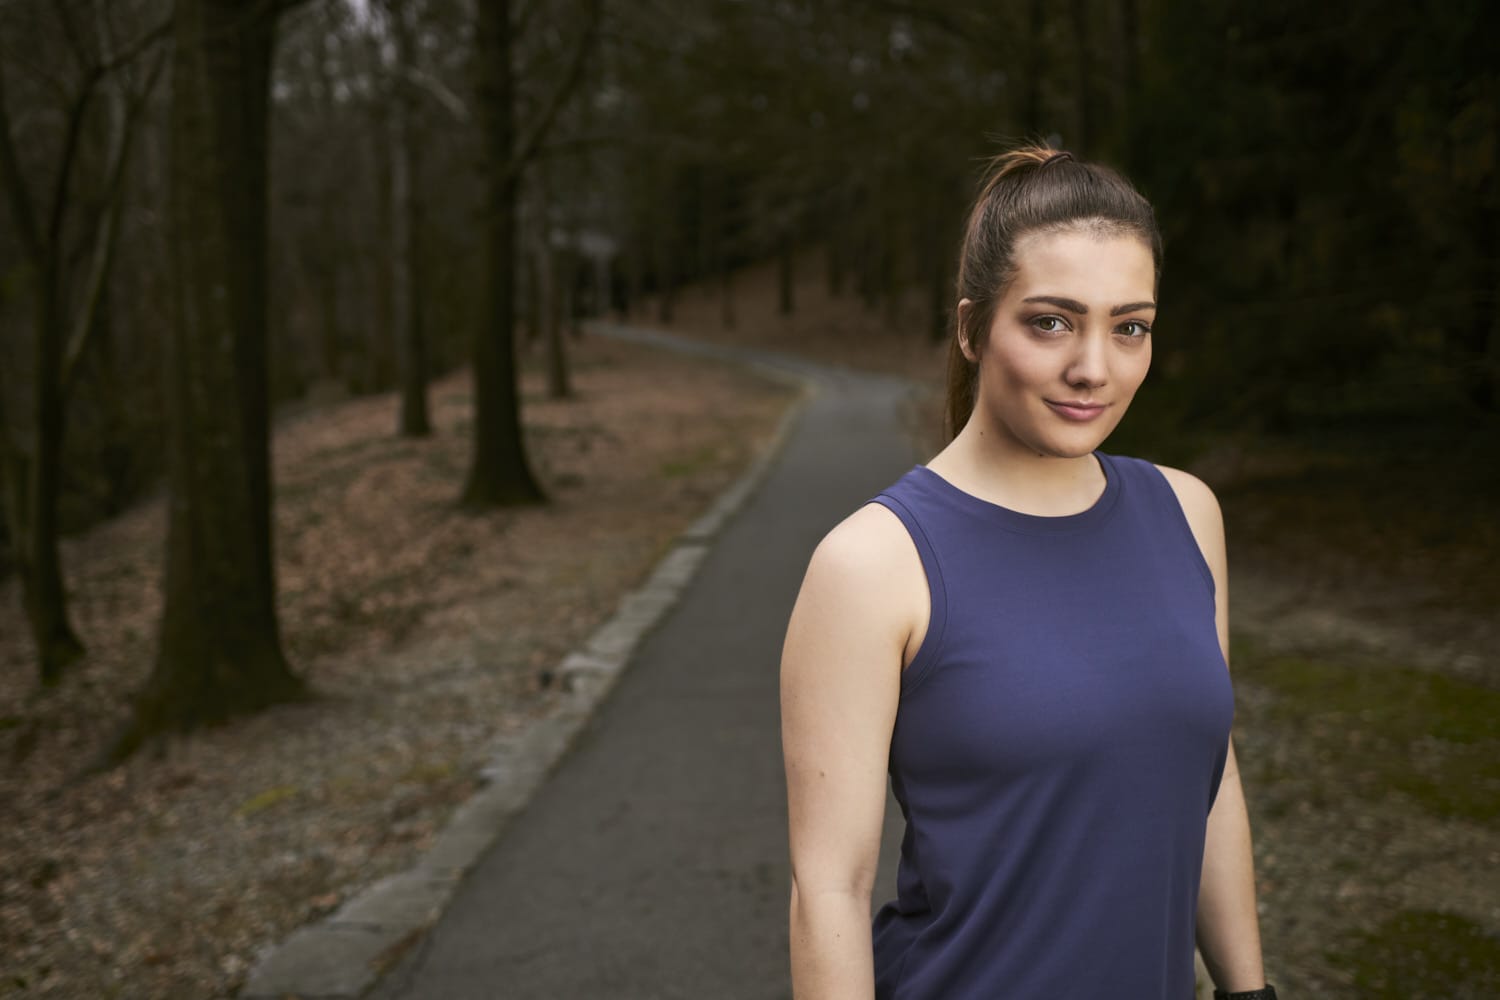
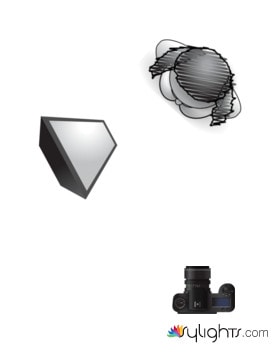
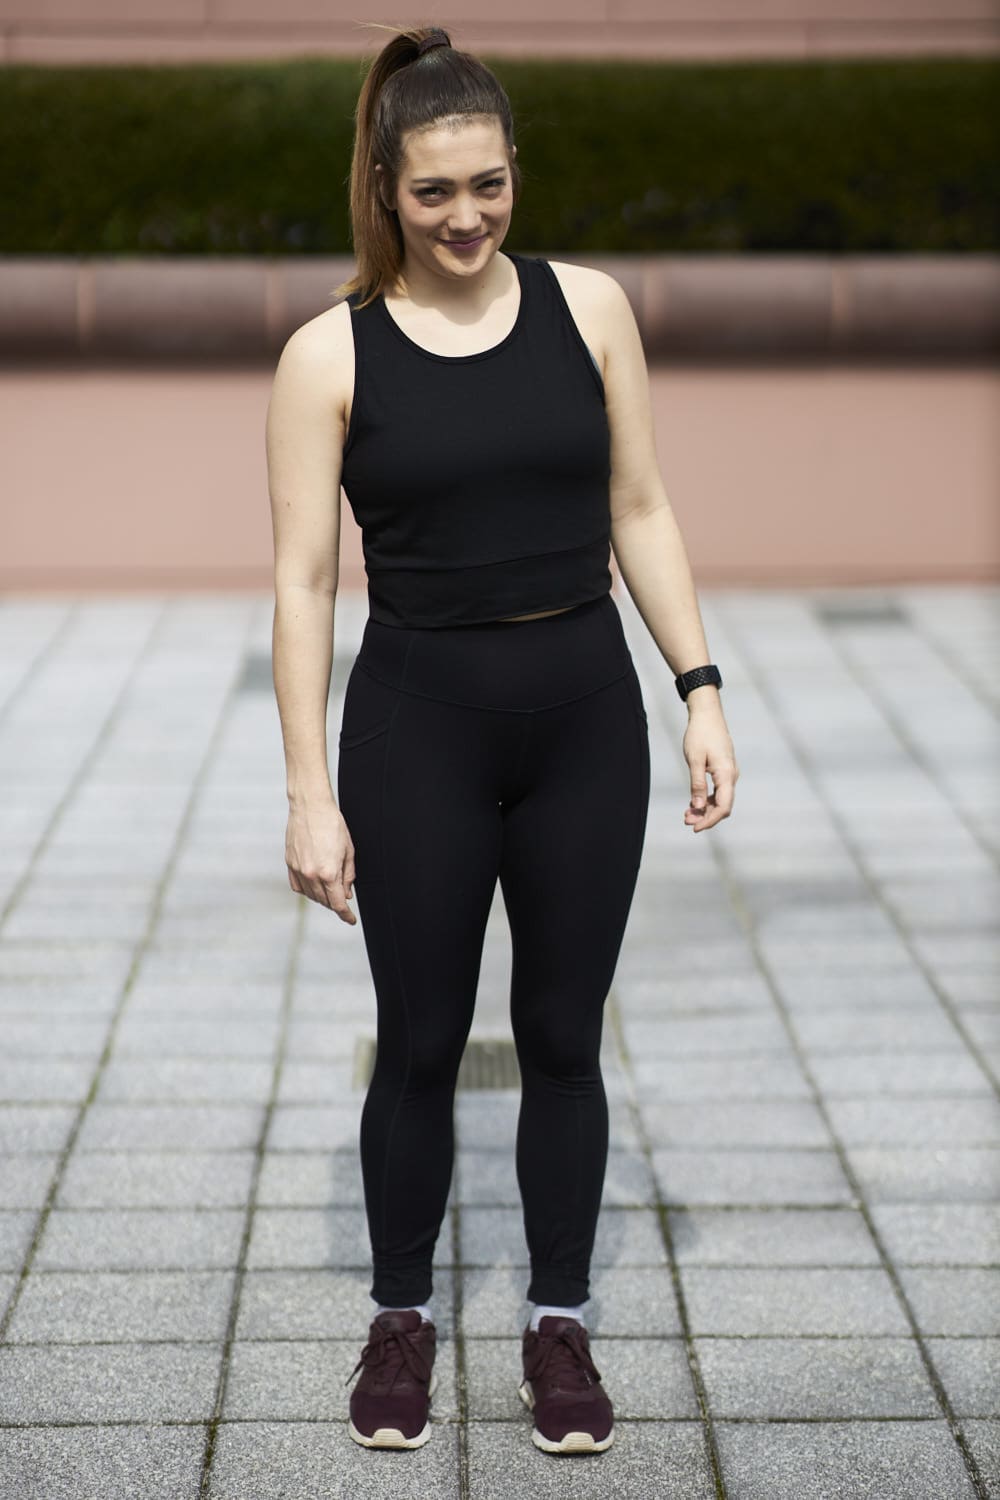
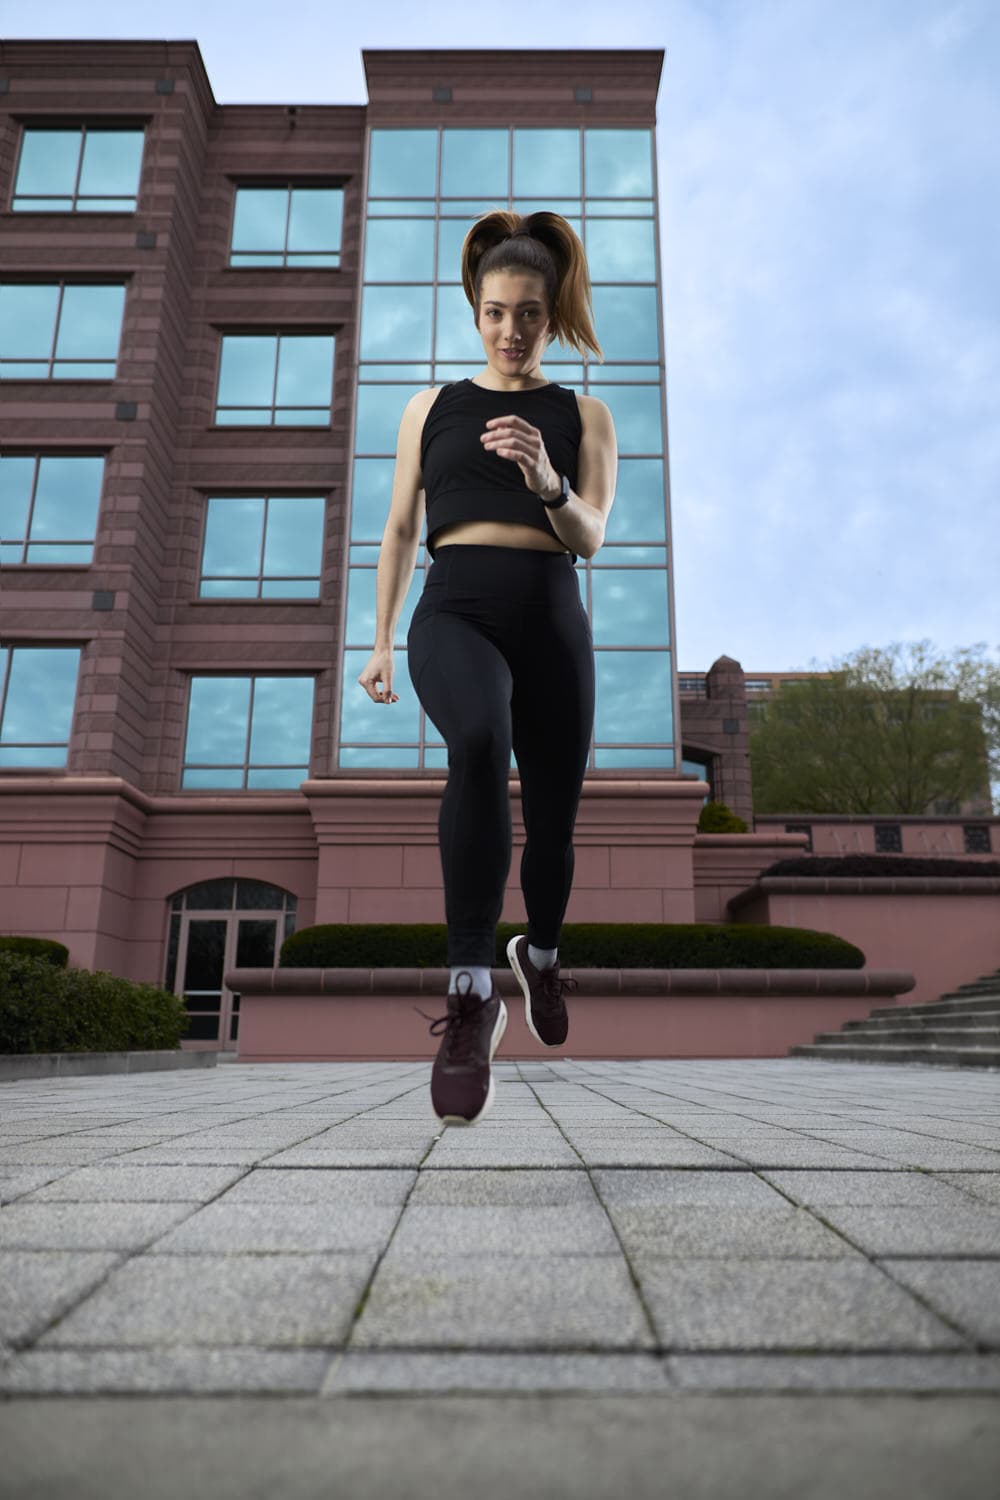
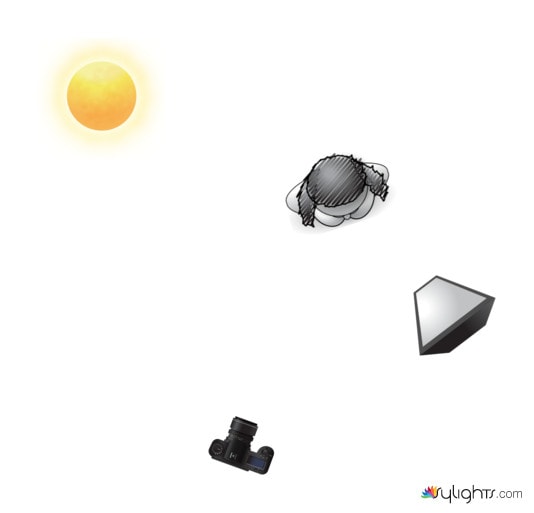
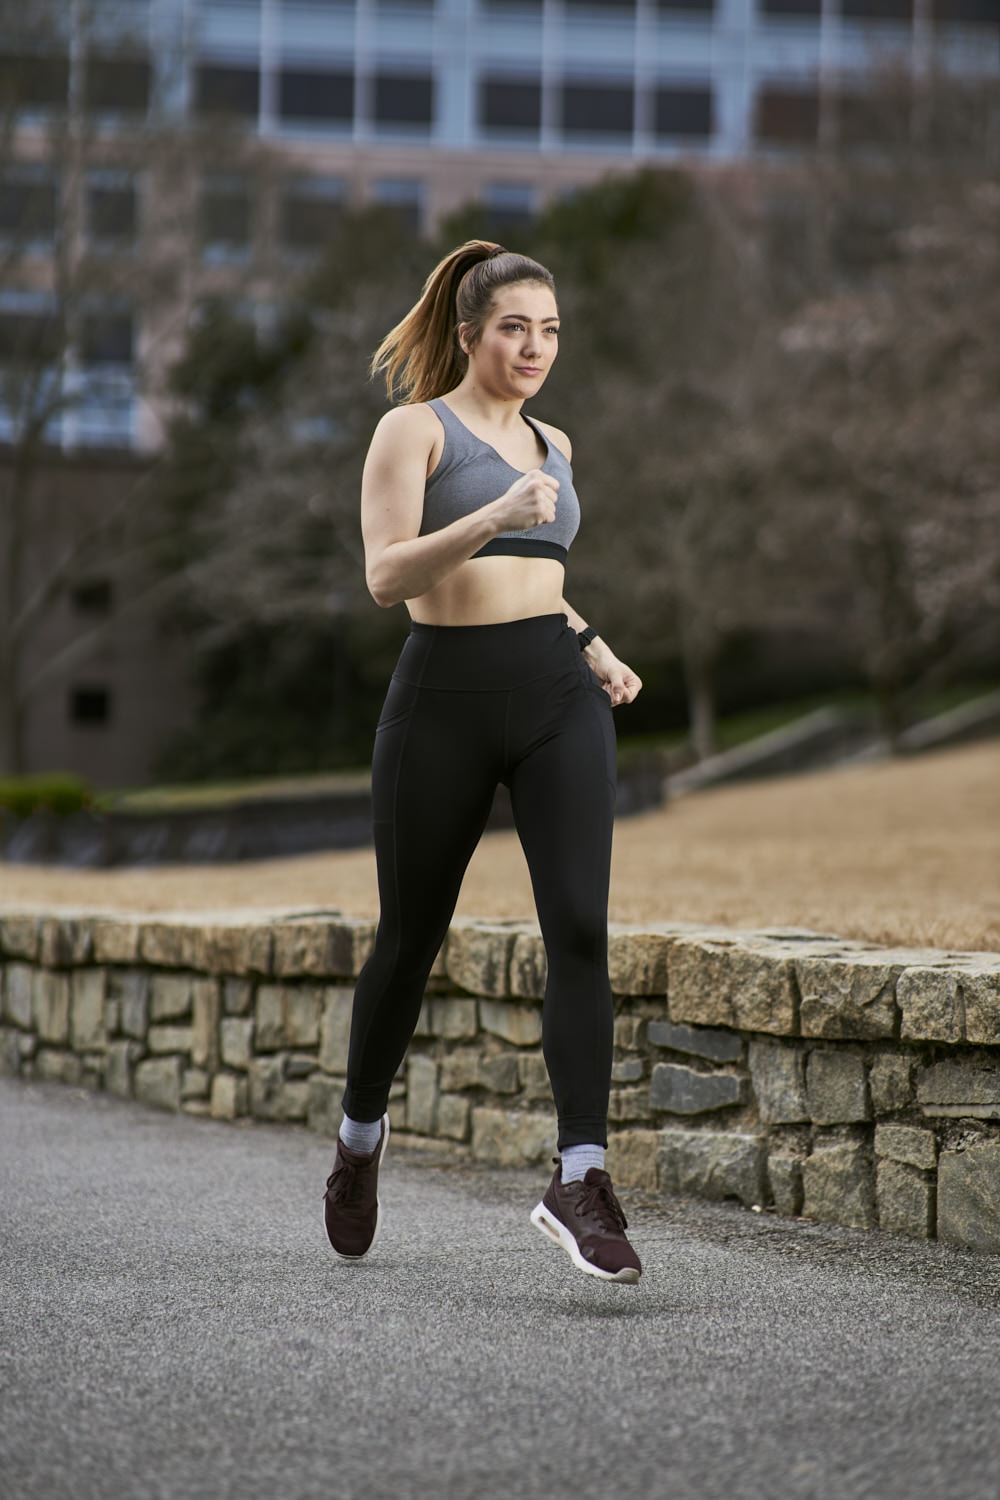
I wanted to start with a simple portrait, just to get dialed in and start with something easy. Here, I set my 16×48″ Stripbox camera left and pointed directly at Liz. Nothing too crazy here, I dialed everything in the way I would in a studio.
Take a picture of the ambient exposure for a starting point. I knew I wanted to shoot at f/2, which meant my shutter speed was 1/1600 with ISO 50 to get an accurate exposure.
Adjust my shutter speed to make the background appear how I wanted; in this case, about 2 stops darker, so 1/5000.
Turn on the flash and adjust the power until Liz is exposed appropriately, or 1/2 power here.
You can see with the images below the exact progression.
Shot & Set-Up #2
Same set-up and lighting as #2, but I added another flash camera right and behind Liz to add a little bit of rim light to her right side. This additional light made her pop more from the background and gave some excellent definition to her bicep.
Shot & Set-Up #3
Ow. I banged my head a couple of times doing these images. There was a rail bisecting the stairs, and I had to sit directly underneath it to get the framing I wanted, AKA to keep the rail out of the shot.
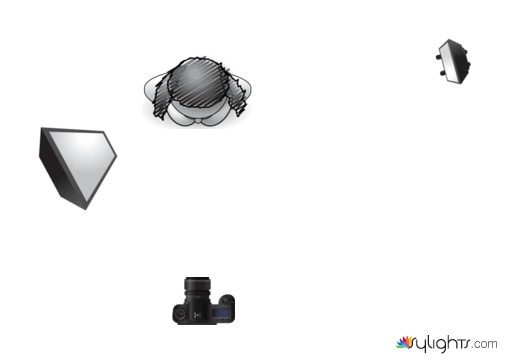
I placed my 16×48″ Stripbox camera right and pointed directly at Liz’s face for these images. To camera left and aimed directly at her back was a bare flash with a grid.
I opted to use a Stripbox (a long, vertical rectangle) vs. my traditional octabox because my model was essentially a rectangle. It merely meant more of my light went where I wanted it to go (her full height), and it would reduce the light wrapping around her, thus giving edgier lighting (a sharper light to shadow transition).
I like these shots, but I don’t like the angle. I was so focused on keeping the rail out of the frame that I wasn’t as good about my positioning. I think the horizontal images would have been better if I was shooting from a higher spot.
I like this last shot SO much better. It’s a better composition, a great expression from Liz, and I think the stairs do much more as leading lines intersecting at her feet.
One thing to note, I didn’t change any settings or the position of my lights. I simply stood up and moved over about 3 feet. Keep that in mind if something isn’t working – just take a few steps to one side or the other, or move your lights a bit. Minor changes can make HUGE differences.
Shots & Set-Up # 4
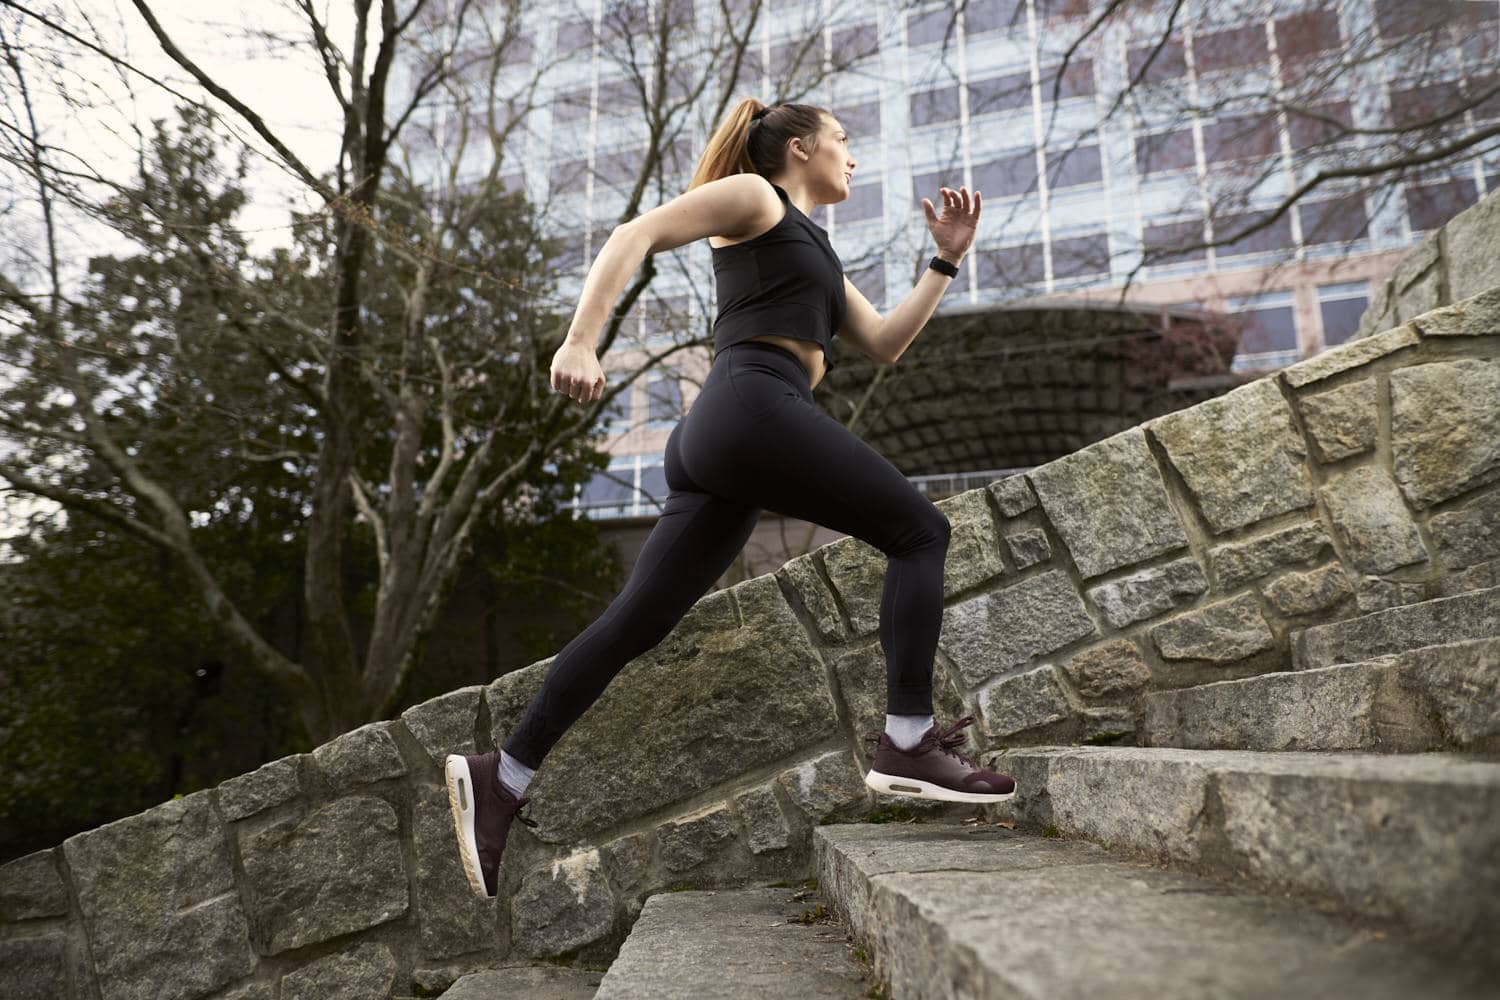
Here’s a fun question – notice how there’s a rim or accent light on Liz’s left side? I only used one flash for these shots – my 16×48″ Stripbox camera right. So, where is that edge light coming from?
The Sun!
Use what you have around you. When shooting with High-Speed Sync, you can make the sun an accent light that’s less intense than your key light.
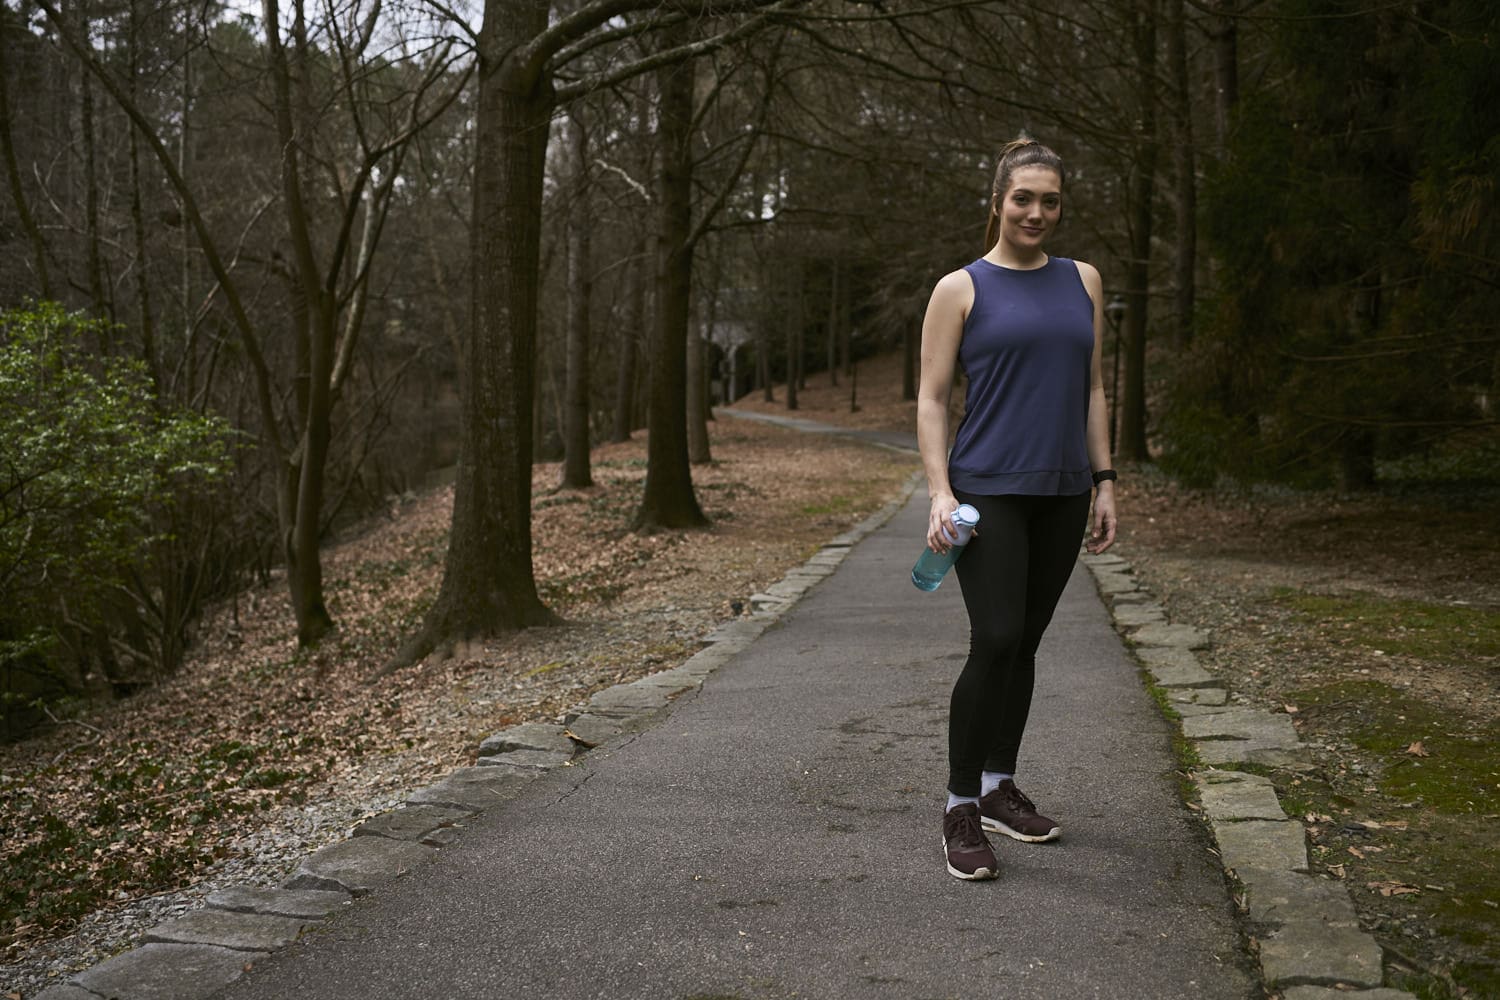
Shots & Set-Up #5
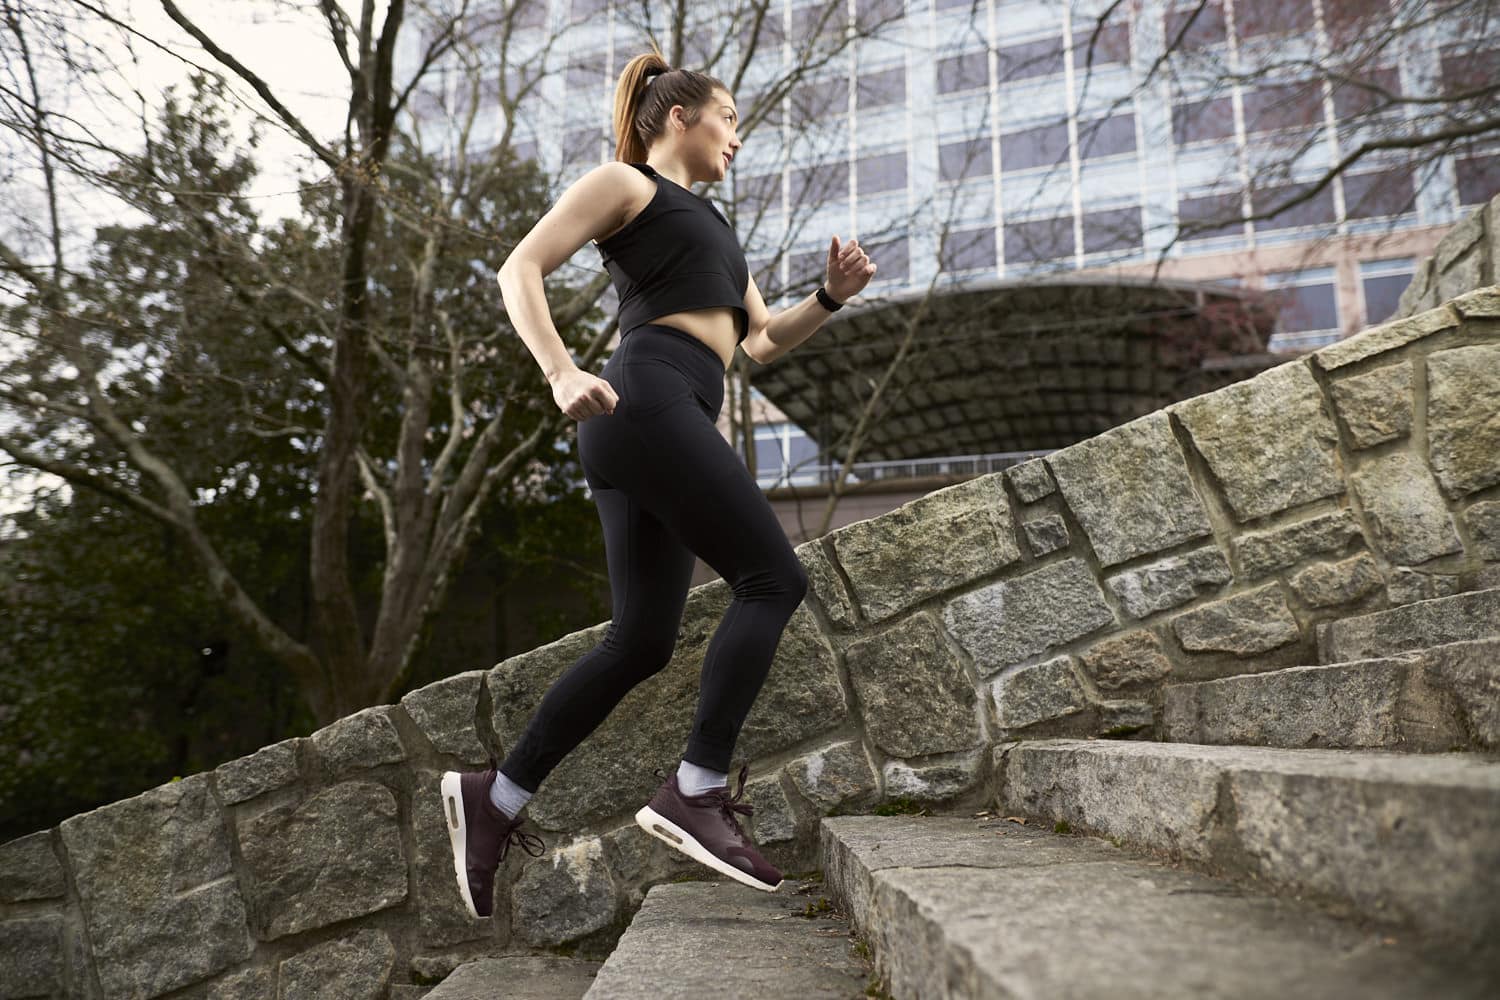
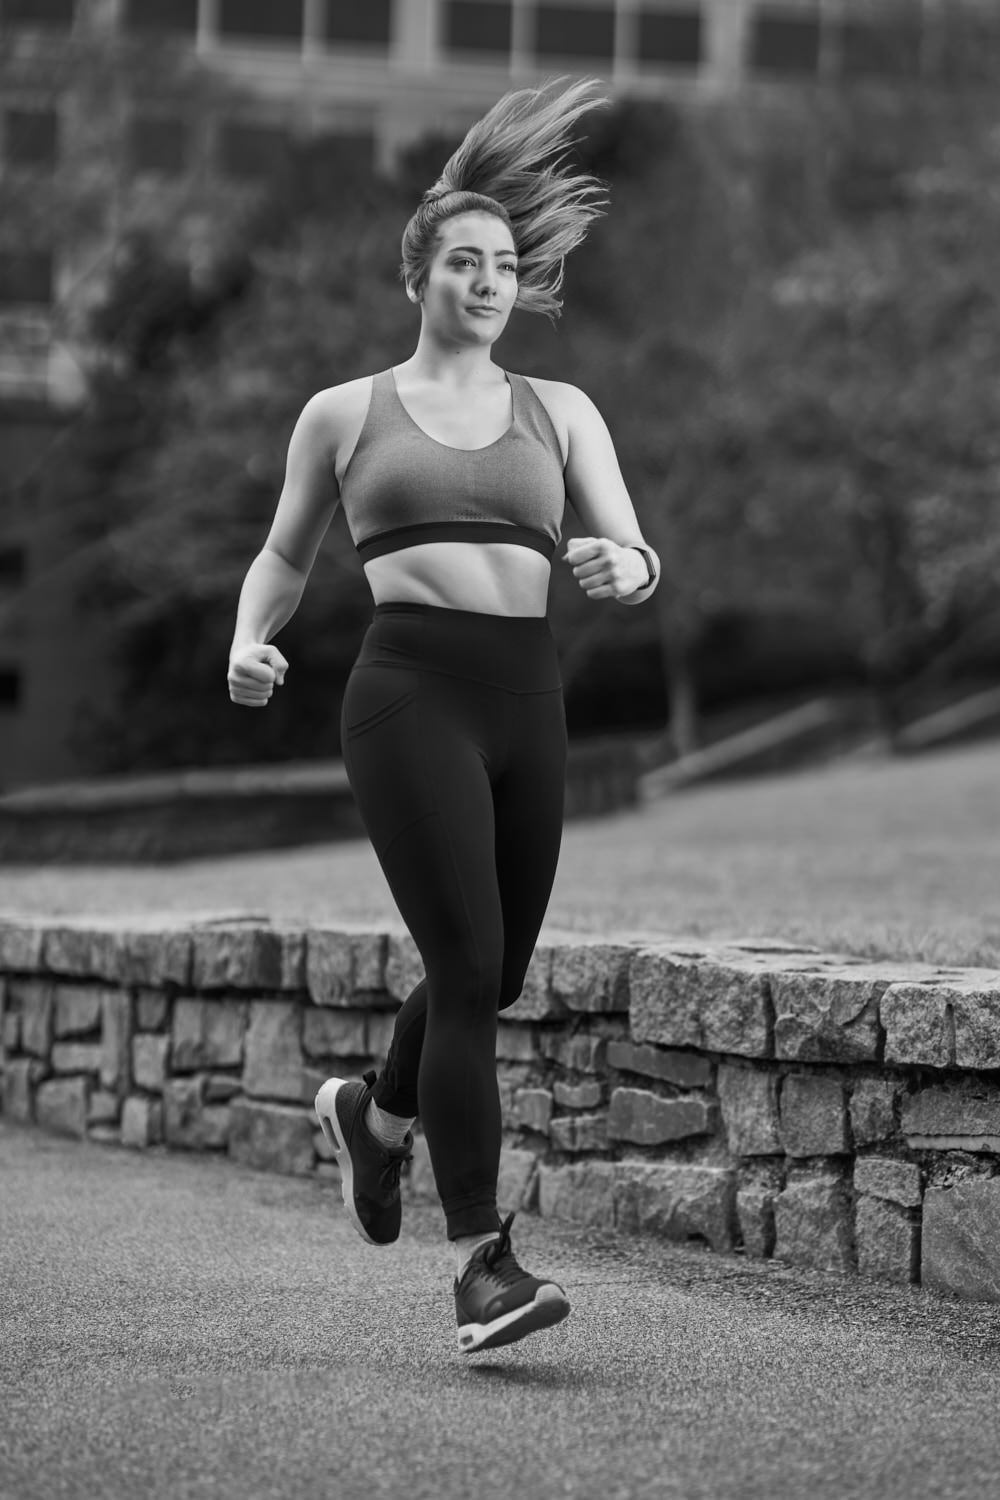
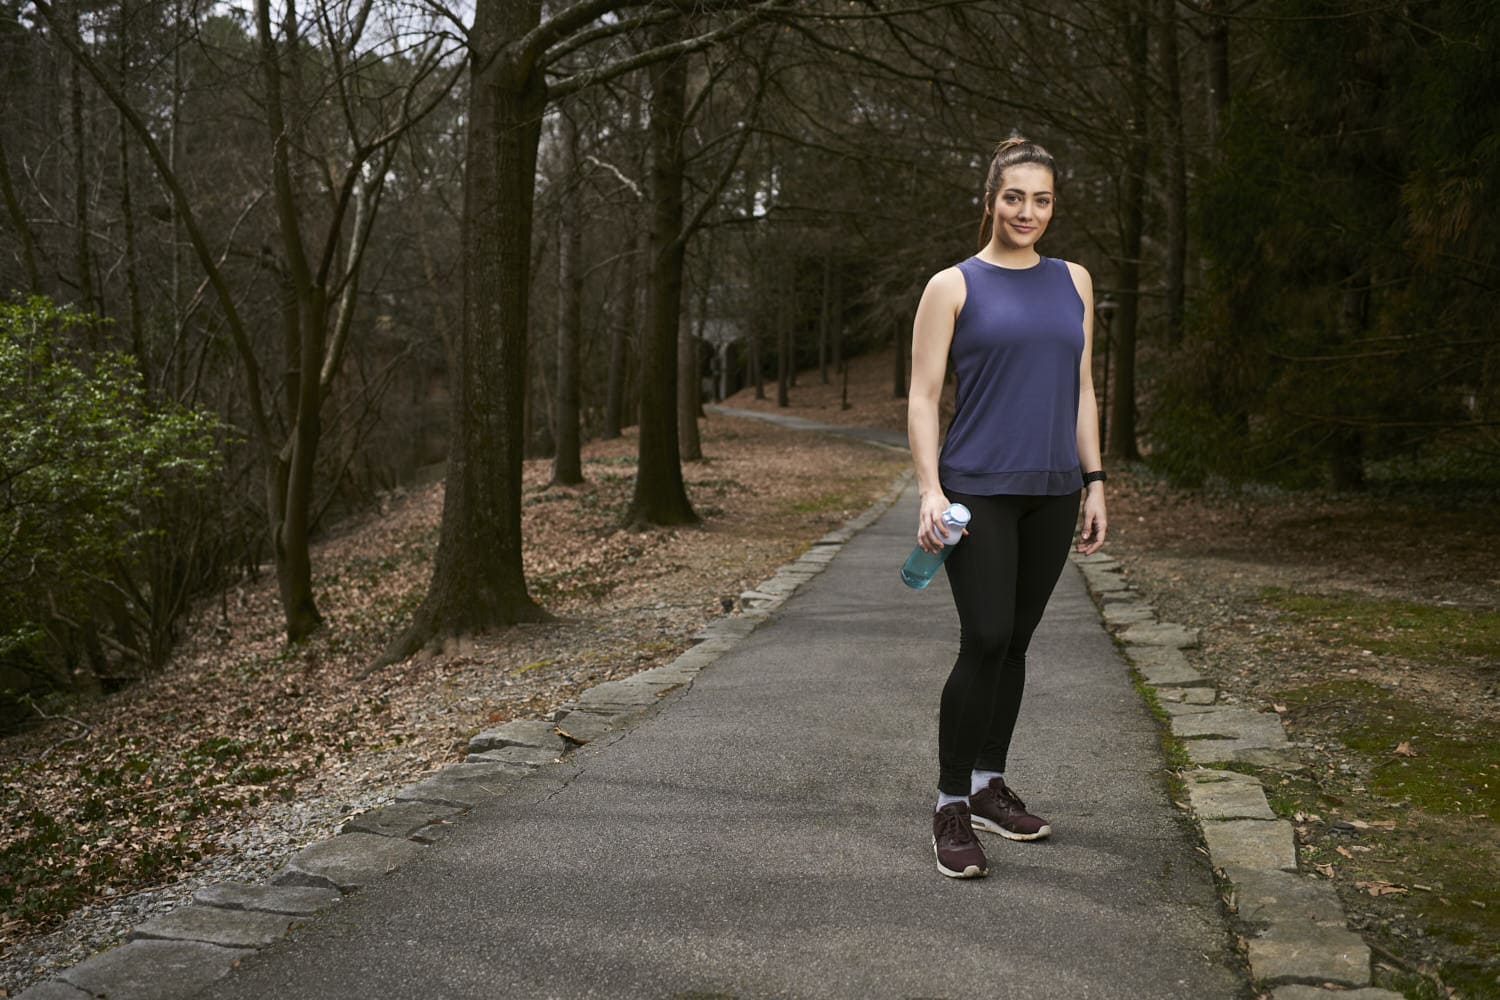
This shot was set-up similarly to #4. I used the sun as an accent light and placed my 16×48″ Stripbox camera right.
Take a look at this shot without my flash firing. See how Liz’s face is heavily shadowed? If I took this picture with only natural light, I’d have turned Liz towards the sun, and I’d lose all the exquisite detail in her hair. It would have blended into the background.
Using flash, I can lift the shadows and really make her pop out from the background. This is a dark, busy setting. I don’t think this shot would look nearly as dynamic if it was done with natural light. Everything would have blended together into a series of similar tones and luminosities.
What I Forgot
Alright, confession time. I am genuinely happy with these images. I think I achieved my goal of a sports editorial shoot. However, I was very disappointed after reviewing these images on my computer.
Why?
I failed to tell the whole story. I completely left out the details! There are no images focused on her shoes hitting the pavement, sweaty hands holding a condensated water bottle, tired hands resting on hips, the swish of a bouncing ponytail, or the blur of passing people who walk too slow in the middle of paths.
GAH.
My lesson from this? Create a shot list and write it down before I ever pick up my camera. Things get hectic and crazy during a shoot, and things get forgotten. Have a prepared list ready and handy, so nothing is forgotten.
Wrap Up
Did this inspire you to try something different? I hope you found this High-Speed Sync article educational and informative. I want you to step out of your comfort zone and try new things! It’s rewarding and so much fun to learn. Little mistakes included!
If any diagrams or explanations I provided are unclear, leave a comment below, and I’ll do my best to answer your questions!