Editing A Portrait From Start to Finish
Call this a veiled attempt to vent my latest frustration at a former portrait inquiry asking, “Why are your images so expensive?!” Firstly, I’m worth it. Secondly, I don’t think everyone realizes how much time and energy goes into editing a single image after the portrait session. Not all photographers edit the same way or apply the same rigor to their editing processes. Because I have clients that print their images at 30×40”, I have to get detailed, which takes time and patience. Also, the number of tutorials I’ve paid for and watched probably rivals the number of credit hours I took for my biomedical engineering degree from Georgia Tech (yeah, I’m a nerd too). So, even though only my photographer peers will probably see this, I still wanted to record just how painstaking professionally editing a portrait can be.
Editing Tools & Methods
RAW Processing
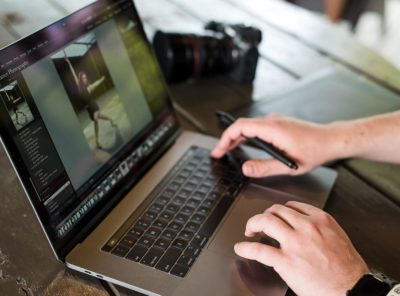
RAW processing is where I take the images from the camera and get the broad edits completed. I use a program called Capture One which acts as an organizational tool and lets me do a lot of editing work. In this stage, I’ll mess with the white balance, exposure, shadows, highlights, color toning, and other broad adjustments that affect the entire image with a (mostly) single slider. These steps lay the foundation for all the editing your portrait will receive. Based on my editing preferences, RAW Processing is typically where the most noticeable changes happen. Once I have the image adjusted to where I want it on a broad level, I’ll take it into Photoshop for the tricky and detailed editing work.
Lasso Tool & Content-Aware Fill
I use this tool combination as a quick way to fix A LOT of stuff. The lasso tool is a free-form loop I can draw around any feature or element within the image. From there, I’ll use the Content-Aware Fill action and let Photoshop’s Artificial Intelligence (AI) fill in the loop I created. The AI is pretty smart and usually does a great job replacing and filling that selection by removing distractions. It’s one of the best tools for fixing fly-away and stray hairs.
Clone Stamp
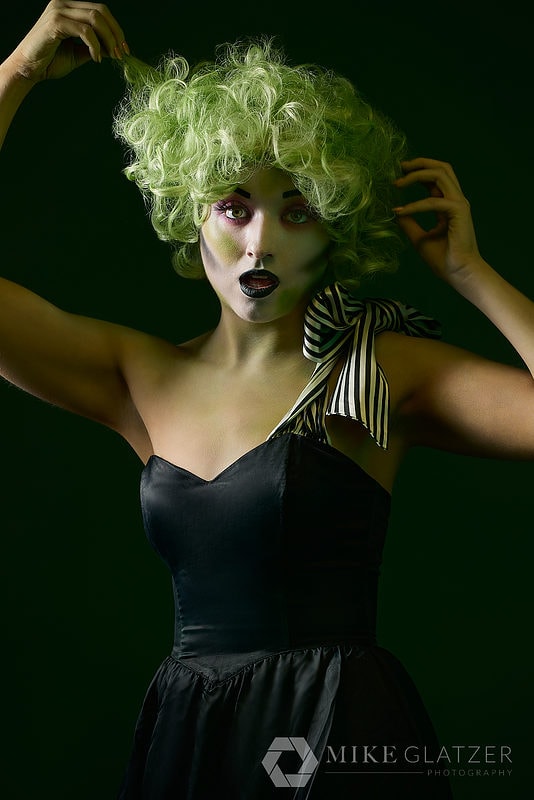
Very powerful but also very destructive – the clone stamp is one of my most frequently used tools. It exactly copies a designated region of an image and applies it to another location of your choosing. It’s excellent for skin retouching, cleaning up edges, fixing backgrounds, doing hair shaping, and so much more!
Healing & Spot Healing Brushes
Like the Clone Stamp tool, these brushes use the surrounding pixels to inform how to replace the region you brushed over. The healing brush uses Photoshop’s AI to guess what works best, which makes it pretty quick to apply but not consistently super accurate. The spot healing brush lets you pick a reference region for the replacement strategy. It’s a little bit slower because you must always sample a new area to copy from when you move to a new working location, but it does excellent retouching on hair, skin, and clothing.
Liquify
This tool gets a lot of photographers in trouble. This notorious tool allows photographers to drastically change the shape of bodies, limbs, and faces. It’s best used in a “less is more” mindset. I mostly use the liquify tool to shape hair and tweak clothing. Occasionally I’ll have a client ask that I slim their arms, and I’ll do some tweaks, but only minor ones. I really try to keep my subjects looking like themselves, even with my editing.
Frequency Separation
Frequency Separation is one of the most complex editing techniques. Effectively, you’re taking a given image and separating it into a texture layer and a color layer. The benefit is that you can adjust an image’s texture without affecting the color and vice versa. This is handy if my subject has blotchy skin on their cheek, for example. I can remove the blotchiness and match the surrounding skin tones without affecting the skin texture. This is also great if I want to remove wrinkles in an article of clothing but not affect the colors. This tool is outstanding for complicated skin and clothing retouching.
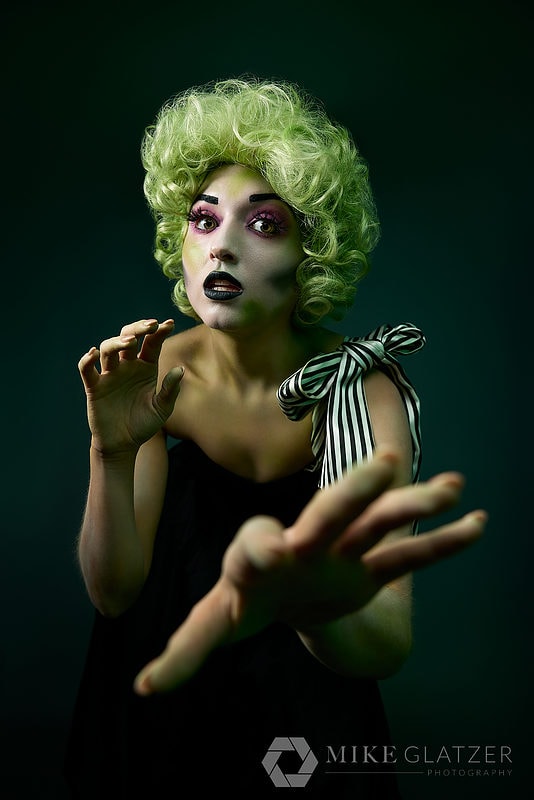
Transform
The Transform tool allows me to change the perspective of an image, which is incredible. This means I can ensure buildings have vertical sides while keeping everything else horizontal. Another sneaky trick is to copy one side of a feature and mirror it to the other, making that element symmetrical. For example, making a Christmas tree look perfectly balanced or fixing a lazy eye by copying the more open.
Dodge & Burn
This technique is sneaky powerful. Dodging and burning is selectively brightening or darkening specific regions of an image. Using a very faint brush, I can gradually brighten or darken a given area to smooth out skin tones, remove wrinkles in skin or clothing, or drastically change the apparent direction of light for an entire image. What’s great about this method is that I can shift the brightness of a spot without getting any color shift. Of course, there are limits to this technique, and it’s also very slow and tedious, but when done properly, the results are mind-blowing.
Retouch4Me
Technically this is cheating, and I don’t care. Retouch4Me is an editing tool powered by AI to smooth skin tones, remove blemishes, and do some dodging and burning all in one action. It’s pretty incredible how well it does. This tool can save me 30 minutes of retouching. It sometimes struggles with faces that are turned away from the camera, but it’s worth trying because if it works – I get some of my life back!
Editing Summary
A standard headshot image can take me anywhere from 15 minutes to 45 minutes to edit. A full-body portrait can take 20 minutes to 2 hours. It all depends on how much work is needed on the hair, skin, clothing, and background. It also depends on the intended image use case! If your portraits are just going on Instagram, I don’t need to get as nuanced. But if you’re like most of my portrait clients and you’re printing large wall art pieces, then I have to get far into those pixels. Needless to say, capturing the image is only a small part of the process required to deliver incredible portraits.

